When epsilon is actually quite large ...
Before the summer holidays, we were approached by a Spanish company (Sicnova) that wanted to help us with our research project about modular 3D printed beams. So after some talks, we borrowed a brand new BCN3D Epsilon W50 3D printer.
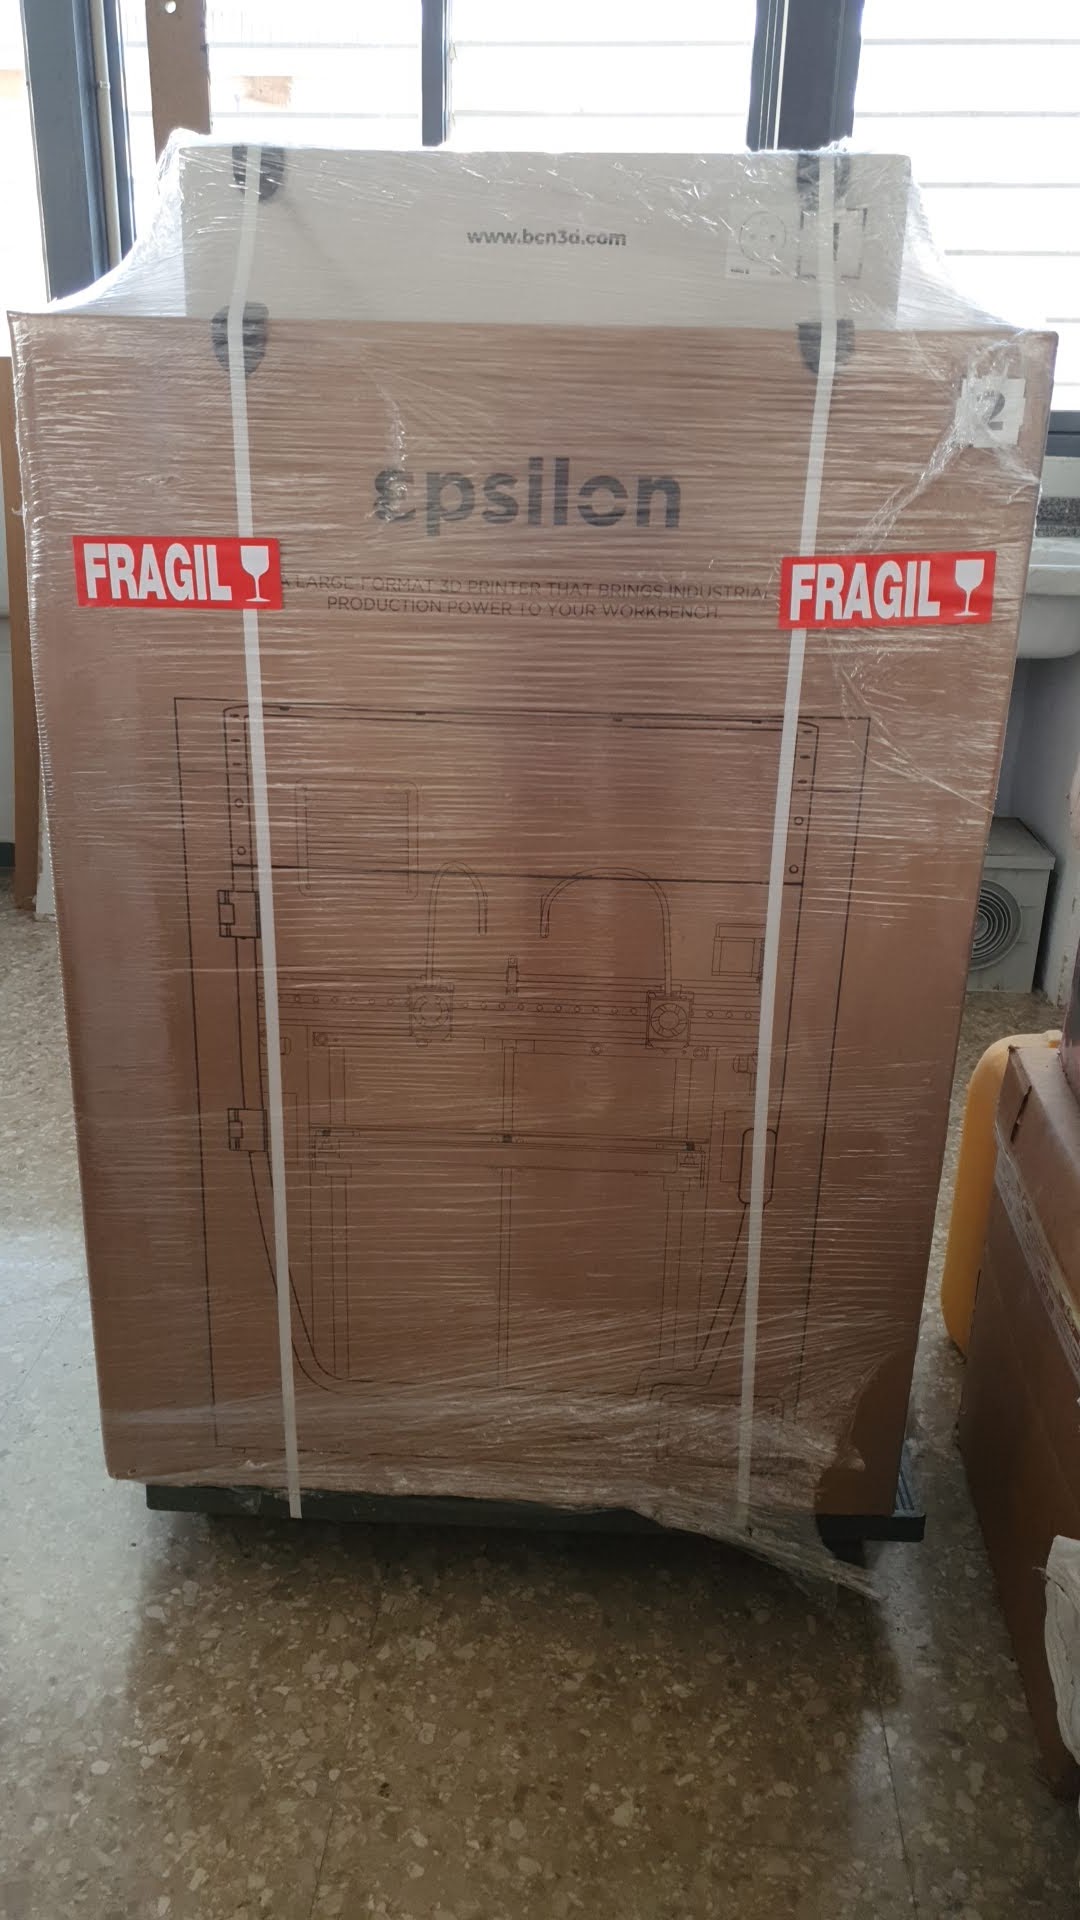
Contrary to other printers and similar to an industrial robot, the machine was delivered over a wooden pallet that needed a manual forklift to move it to our lab. Overall volume was not very different from a washing machine or dishwasher. I went to the lab for unpacking it but returned empty-handed: the instructions called for two people for the unboxing procedure. So I had to return the next day with a colleague so we could remove the packaging and rise the printer to the workbench where it will live.
Once the printer was powered on, we noticed the nice touch-sensitive display on the bottom-right corner, that greeted us and guide us through the setup procedure.
The printer has a USB, Ethernet, and WiFi connectivity, but we were not prepared to network the printer at that initial moment. I just used my phone to register the printer and that was that. However, when I later read the documentation with more detail I realized the WiFi printer setup calls for WPA2 PSK authentication (the usual SSID + password) but unfortunately we do have WPA2 Enterprise Authentication on the campus WiFi, so that was a no-go. On the other hand, the Ethernet is a choice, but we need to provide the network admins the MAC address of the machine, which we do not know, so for the moment it is being operated without a network connection of any type.
The printer came with a couple of spools of PLA filament, a set of tools, an SD card, and the required glue to print on the heated bed covered with glass. However, I did not find any sample file I could use to do a first test print. Anyway, I downloaded some proper code over the Internet and I have the printer running with a bicolor target print in no time.
Unfortunately, that first print attempt failed as I rushed it without doing my due diligence (aka RTFM). It turned out the printer has an automatic bed leveling procedure that needs to be done every time you move the printer to a new location. The process was simple and it worked as intended, so now I should be able to print a sample part. By now I already knew I had to use Stratos slicer (a customized version of Cura slicer) to prepare a part to be printed. One of the reasons for the custom slicers is the unique (or not so common) feature of the printer that features two independent extruders, that can work alternatively for multi-color, multi-material prints, or at once, for mirrored or duplicated parts.
So now, I had the Stanford rabbit g-code ready to be printed. I started the print and I could see a perfect first layer. After ten minutes I left the printer to its own devices and assumed the print will be a successful one but, when I returned minutes later I realized something was not right: It looked as if the printer had missed steps in the X-axis direction. I stopped the print and scratch my head: Was it my fault? And as you may guess, the answer was a yes. Being new to this printer, I did not use the 3D glue that comes with the printer. As the printer features a smooth glass surface on the top of the bed, it needs some of that glue to help with the adhesion of the parts while being printed. I thought it was not needed because the first layers printed nicely.

However, when I returned to the printer and stopped the print to what looked like a layer shift, I misread the situation too: It was not that the layers were shifting, it was that the part was loose as it had detached itself from the bed.
Applying the proper glue to the bed and repeating the same file printed a nice rabbit. The Epsilon was finally ready to start working for us.

First impressions
The operation


Comments